

Finding, having or making a great composition is the golden key to landscape photography. While the rule of thirds is the most well-known photographic composition technique out there, sometimes you will need to step outside of the box for a truly stunning photograph. When capturing breathtaking landscapes, there are few photography techniques that you can use which are as powerful as the compositional S-curve.
The S-curve is a composition technique that is a type of leading line which takes on the shape of, you guessed it, the letter ‘S’. Landscape photographers employ this photo composition method in many of their frames. The curve need not be precisely in the S- shape. It can also be a mirror image of the letter “S.” It is not mandatory that the curve leads to a subject. The curve can also act as a divider in the frame, making the scene more interesting.

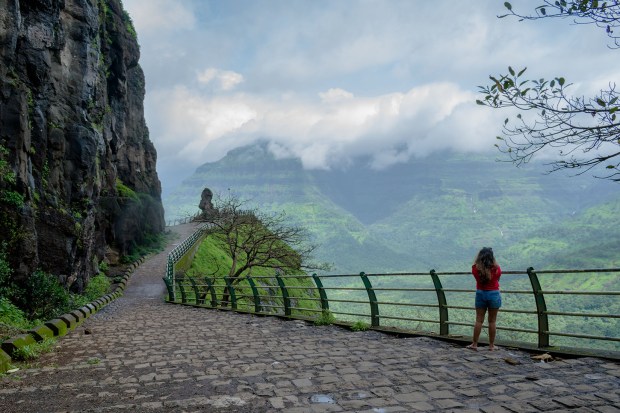
Luckily S-curves occur pretty frequently in both nature and in cities. Here are the most common places to find them:
- Winding roads
- Rivers, streams, and creeks
- Fences
- Coastlines
- Train or light rail tracks
- Ocean surf
- Sand dunes
- Forest edges
- A path through the woods or through a field
- Human or animal tracks
You may also compose your portraits or still life shots using the S-Curve.

While using this technique may seem self-explanatory, there are a few things to keep in mind for best effect.
1. Keep Clean Lines
If you’re using the S-curve as the primary focus of your photo, make sure that the line isn’t broken by other elements like branches or logs. Horizontal or other lines interrupting the curve can pull the eye away from the flow of the S-curve or block its progress.

2. S-Curves Can Be Strong or Subtle
While an S-curve can make for a beautiful subject, it doesn’t always have to be upfront and center in your composition. Sometimes a subtle S-curve will work better, not detracting from the main element in a photograph yet still drawing the eye through the image.

3. Pay Attention to Placement
Where you put the S-curve can make all the difference. The best bet is to keep all the elements of the photo in balance without tipping too much emphasis to one side or the other.
4. Still Life Photography
In the case of still life photography, the placement of elements is under your control. So, you can position your main element and the supporting props in an S pattern to follow this style.

5. Need Not Be Continuous
There can be single or multiple breaks in between your S-curve. But, when you view the scene, you will see the S shape formed by these elements that are arranged in the S shape.

Using S-curves in your photography will help you guide the viewer on a visual journey through your photo, adding both depth and a sense of visual rhythm. Whether you’re using these soft, flowing lines to create compositional separation in the frame or using the curve itself as the focal point, the S-curve is definitely a worthy addition to any photographer’s toolbox.
Also Read – Birds of Bhigwan Part 1
CONNECT WITH ME:
YouTube: https://www.youtube.com/user/agarwalsonika7
Instagram: https://www.instagram.com/agarwalsonika/
Twitter: https://www.twitter.com/agarwalsonika7/
Facebook: https://www.facebook.com/sonikatravels
