

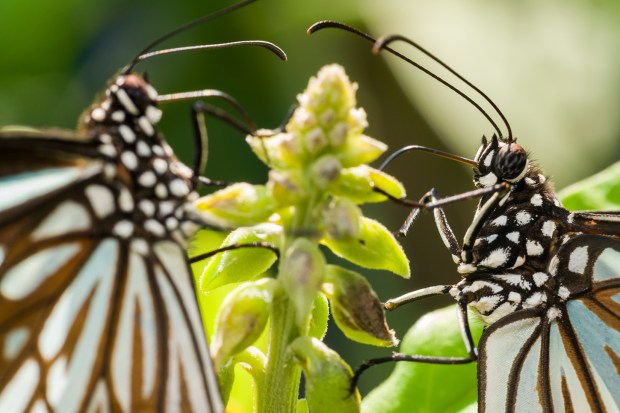
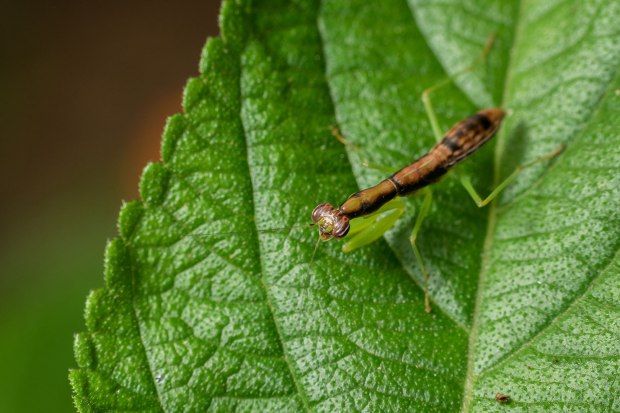
Insect macro photography is one of the most fascinating and rewarding genres of photography, allowing you to capture intricate details of insects’ eyes, wings, and body textures that are invisible to the naked eye. However, photographing insects up close presents unique challenges, such as focusing, lighting, and movement. Whether you’re using a dedicated macro lens or a macro filter like the Raynox DCR-250, the right approach can help you capture stunning insect macro shots.
1. Choose the Right Macro Gear
A macro lens (like a 90mm or 100mm) or a Raynox DCR-250 macro filter can magnify tiny details, making insects appear larger than life. If you’re just starting out, a macro filter like Raynox DCR-250 is a budget-friendly option that attaches to your existing lens, allowing you to get extreme close-ups.
2. Find the Right Time and Location
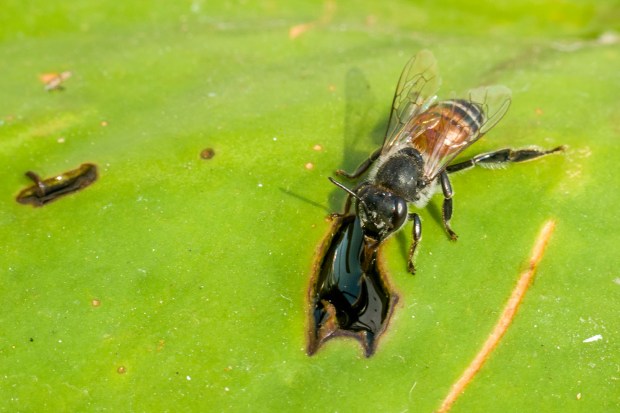
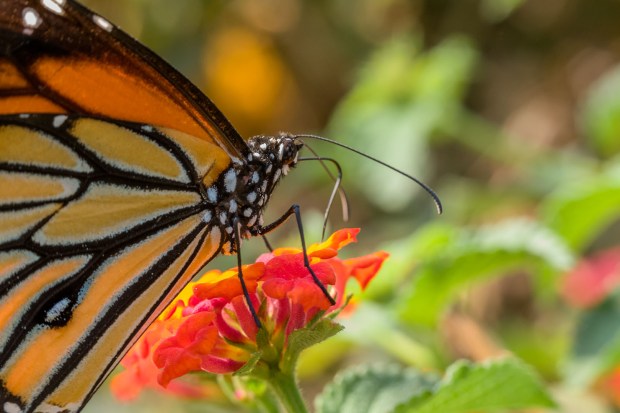
Early morning or late evening is the best time for insect macro photography because insects are less active due to cooler temperatures. Parks, gardens, and fields with flowers attract insects like butterflies, bees, and dragonflies, making them great places to start.

3. Approach Insects with Patience
Sudden movements can scare insects away. Move slowly and observe their behavior. Many insects return to the same spot after a short time, so if one flies away, stay still and wait—it may come back.
4. Master Lighting Techniques
Proper lighting is crucial for insect macro shots. Natural light works well, but using a diffused flash or an external LED light can eliminate harsh shadows and bring out details in an insect’s body and eyes. A DIY diffuser (like a white tissue over the flash) helps create soft, even lighting.
5. Use Manual Focus for Precision
Autofocus often struggles in extreme close-up photography. Switch to manual focus and fine-tune by slightly moving your camera forward or backward. Many photographers use focus peaking (if available) to ensure sharp details.

6. Control Depth of Field
A wide aperture (f/2.8 – f/5.6) gives a dreamy, blurred background (bokeh), but it might reduce sharpness on the insect’s body. A narrower aperture (f/8 – f/11) ensures more details are in focus while still separating the insect from the background.

7. Stabilize Your Camera for Sharpness
Using a tripod or a monopod can help minimize camera shake. If you’re shooting handheld, brace your arms against a surface and use image stabilization (if available) to improve sharpness, especially when using the Raynox DCR-250, which has a shallow depth of field.

8. Capture Unique Angles and Perspectives
Try photographing insects from a low angle, side profile, or directly in front to make the shot more engaging. Shooting at eye level with an insect adds depth and gives a more personal connection to the image.

9. Focus on the Eyes for Impact
Like in portrait photography, an insect’s eyes are the most captivating part. Ensure the eyes are in sharp focus, as they are often the brightest and most detailed feature. Catchlights (light reflections in the eyes) add a sense of life to your shot.
10. Edit for Maximum Detail and Clarity
Post-processing in software like Lightroom or Photoshop helps enhance sharpness, adjust brightness, and remove distractions. Sharpening, contrast adjustments, and noise reduction can make an insect’s features pop while keeping the natural look intact.
Insect macro photography requires patience, the right gear, and careful technique to capture breathtaking close-ups of tiny creatures. Whether you’re using a macro lens or the Raynox DCR-250, focusing on lighting, depth of field, and unique perspectives will help you create standout images. Keep experimenting, and soon you’ll be capturing the intricate beauty of the insect world like never before.
Also Read – Macro Photography of Leaves
CONNECT WITH ME:
YouTube: https://www.youtube.com/user/agarwalsonika7
Instagram: https://www.instagram.com/agarwalsonika/
Twitter: https://www.twitter.com/agarwalsonika7/
Facebook: https://www.facebook.com/sonikatravels/
