

Want to make your bird photos pop? Mastering background blur can help you create stunning, professional-looking images that truly highlight your subject. Today, I’ll show you how to achieve that dreamy background blur in bird photography!
A well-blurred background makes your bird stand out and gives your image a clean, professional look. But how do you achieve that effect? Today, I’ll walk you through camera settings, lens choices, and composition tricks to get that perfect background blur. Let’s dive in!
1. Use a Wide Aperture (Lower f-stop Number)
A wide aperture (like f/2.8 or f/4) creates a shallower depth of field, making the background smooth and creamy.
🎯 Pro Tip: If you’re using a zoom lens with an f/5.6 or f/6.3 aperture, try zooming in fully to enhance blur.
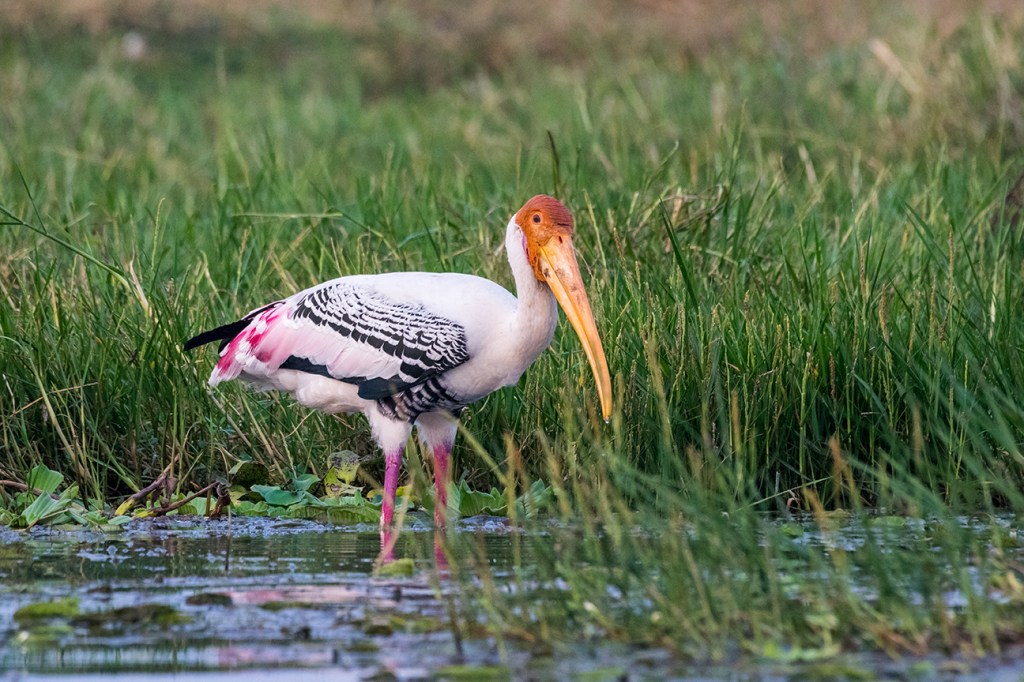
2. Increase the Distance Between Subject and Background
The further the bird is from the background, the more blurred the background will appear.
🎯 Pro Tip: Position yourself so that the bird is perched far from trees, water, or other background elements to maximize blur.ground bright and the bird in full silhouette.
3. Use a Longer Focal Length Lens
A telephoto lens (300mm, 400mm, or more) naturally compresses the background, creating more separation between the bird and the surroundings.
🎯 Pro Tip: A prime lens like 400mm f/2.8 gives incredible background blur, but even a budget-friendly 70-300mm lens can do wonders!ect and create a layered effect.
4. Keep Your Subject Close to the Camera
The closer the bird is to you, the more pronounced the background blur will be.
🎯 Pro Tip: Try photographing birds at feeder stations or areas where they perch close to your shooting position.onto the bird’s face for more detail.
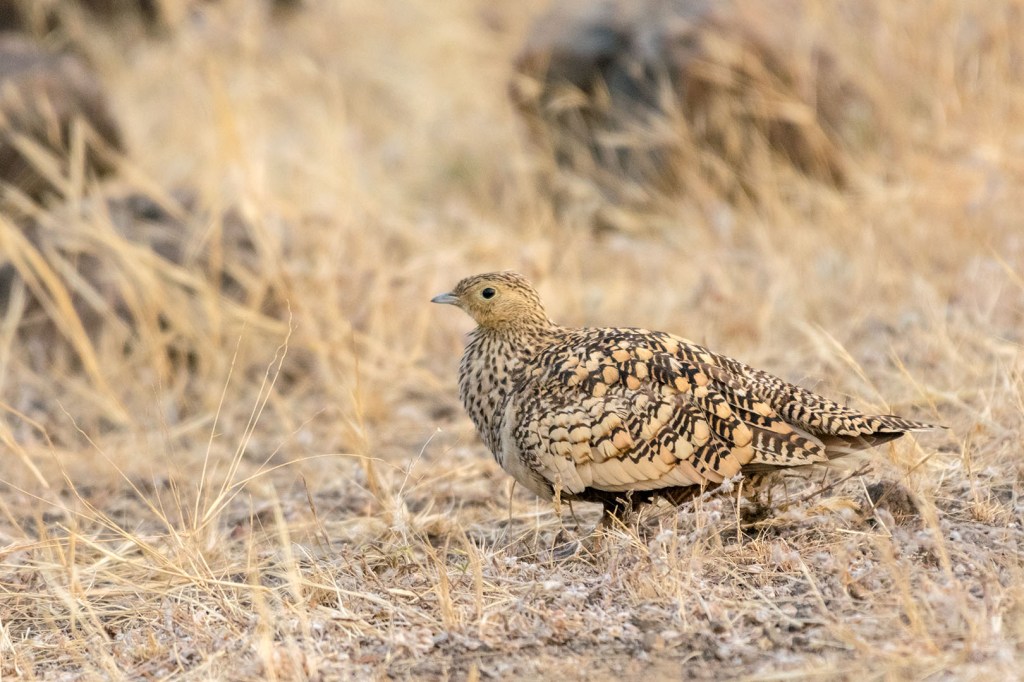
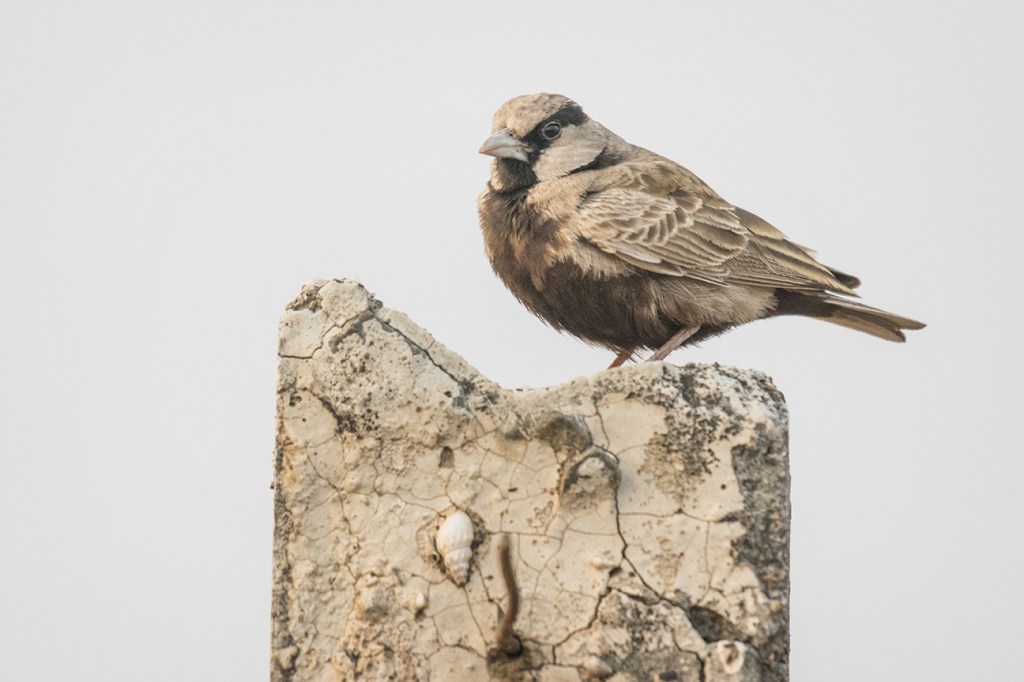
5. Choose a Simple and Uncluttered Background
Avoid busy, distracting backgrounds with too many elements. A plain background like sky, water, or soft foliage enhances blur.
🎯 Pro Tip: Slightly change your shooting angle to position the bird against a cleaner backdrop.
6. Shoot in Soft, Even Lighting
Harsh sunlight creates harsh shadows and textures, making the background look more distracting.
🎯 Pro Tip: Overcast days or golden hour lighting provide smooth, soft backgrounds for the best bokeh effect.
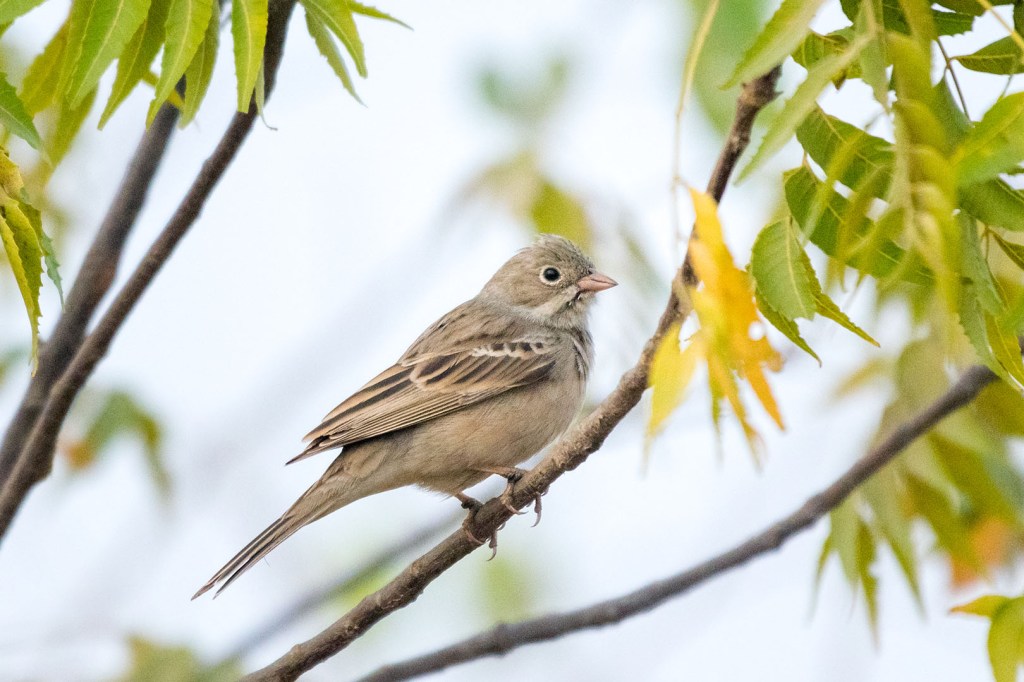
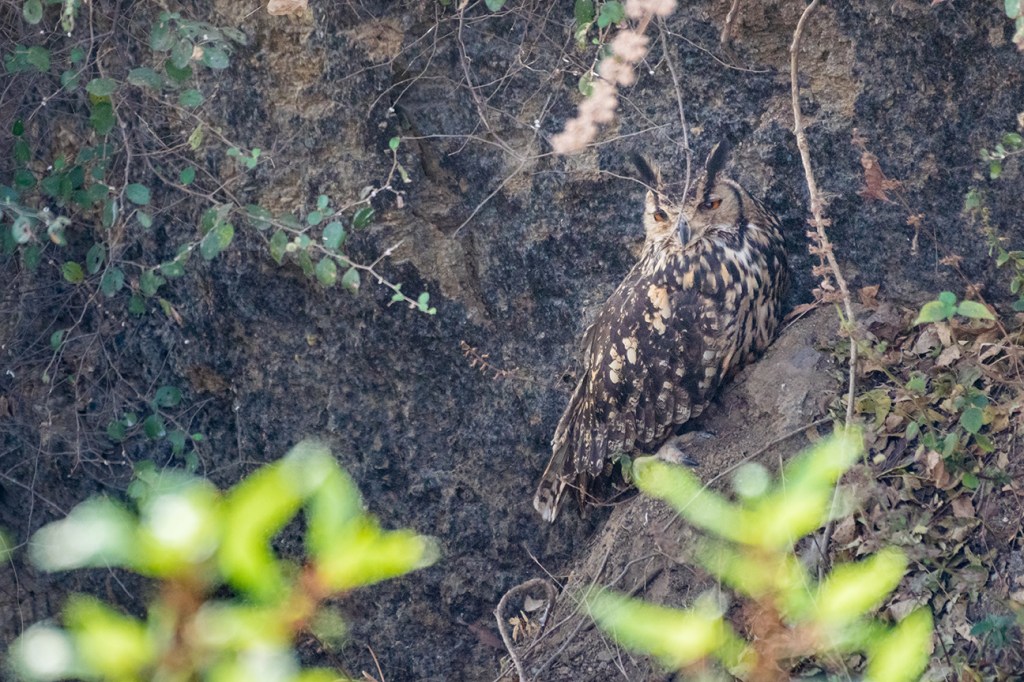
7. Utilize Foreground Blur for Added Depth
Position an element between your camera and the bird to create a soft foreground blur that adds depth and dimension.
🎯 Pro Tip: Try shooting through leaves or grass to achieve a natural, layered effect.
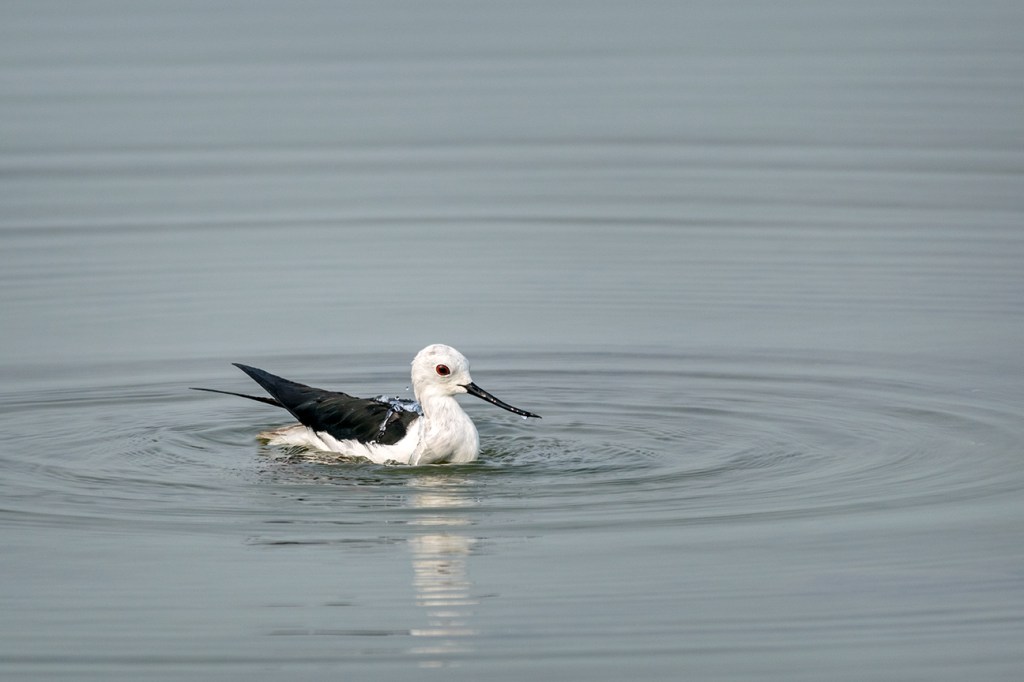
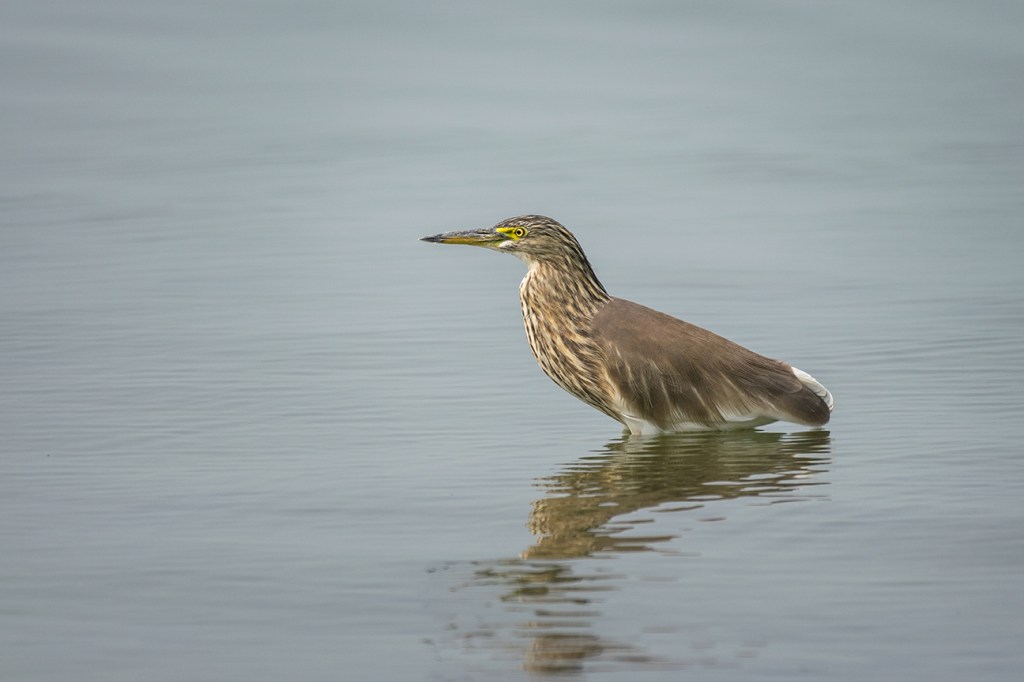
8. Experiment with Different Camera Angles
Shooting at eye level with the bird often results in a more pleasing and natural blur.
🎯 Pro Tip: Get low to the ground when photographing birds on the water to create a smooth water blur effect.
9. Use AI or Manual Blur in Post-Processing (if Needed)
If your background isn’t as blurred as you’d like, selective blurring in Photoshop or Lightroom can enhance the effect.
🎯 Pro Tip: Use the “Radial Filter” or “Lens Blur” tool to apply a realistic blur effect.m harsh light.
10. Shoot in RAW for Better Background Refinement
RAW files preserve maximum detail, allowing better color grading and background adjustments in post-processing.
🎯 Pro Tip: Use masking tools in Lightroom to subtly adjust the background without affecting the bird.
Which of these tips are you excited to try on your next bird photography session? Let me know in the comments!
Also Read – Birds of Bhigwan
CONNECT WITH ME:
YouTube: https://www.youtube.com/user/agarwalsonika7
Instagram: https://www.instagram.com/agarwalsonika/
Twitter: https://www.twitter.com/agarwalsonika7/
Facebook: https://www.facebook.com/sonikatravels
