

In product photography, a photographer takes photos to present the product in the best light so that it looks representative of how it appears to the naked eye, and so that it looks attractive to the customer. Now let’s come to my 50 tips to improve your product photography. I hope you find them to be insightful and instructive. Get ready for a long scroll!

If you feel it’s too much to read, check out my video about these 50 tips for Product Photography…
1. Get Inspired
Study the product photos and notice elements that make the photos outstanding. When taking your own photos, try to put some of these elements into your own work.
2. Pick the Right Aperture
Set a narrow aperture ie high f-number to keep as much of the product in focus as possible. But for lifestyle shots featuring a product and either a model or another object, keep the aperture wide ie low f-number.
3. Set Low ISO
When discussing ISO, it’s best to keep the setting as low as possible. High ISO levels incur digital noise in cameras which can distract from the product.
4. Use a Telephoto Lens
Wide-angle lenses and effects lenses can ruin the proportions of the subjects in an image. Any focal length between 85mm and 145mm may be suitable to avoid distortions.
5. Image Size
You can set most cameras to shoot in portrait, landscape, or even square depending on where the images will be used. For products, it’s always best to shoot at the highest file size possible as you can always reduce it later.
6. Shoot in RAW
Make sure you always shoot in RAW, as it will give you much more flexibility when you reach the photo editing software stage and will give you the highest resolution in which to click your images.
7. Use Proper Lighting
There are two options for product photography lighting: studio lighting and natural lighting. Natural lighting can work really well for product photographs used outdoors, eg clothing. On the other hand, if your product is primarily used indoors e.g., cookware, then artificial product photography lighting is preferable.
8. One Type of Light
Avoid using different types of light in an image. For example, avoid using artificial light with sunlight. Even if you have to use another light source, ensure it is of the same colour.
9. Use a Reflector
A reflector will allow you to fill in shadows, create a more balanced exposure, and avoid loss of details. You can make one very easily at home using some white paper or aluminum foil.
10. Product Positioning
Positioning your product is the fun part of product photography. Take loads of different shots in lots of different arrangements – but keep the product central.

11. Use a Tripod
Using a tripod will ensure a reduction of a blur, which is critical if you want your product photographs to look professional and high-quality.
12. White Balance
Auto white balance is good for beginners as it automatically analyzes the light in your scene and chooses a proper setting. Or you can even correct the white balance in post-production.
13. Clean Your Lens
Dirt on lenses can show up in the images and cause unnecessary editing or even reshoots. Clean your lens with a dry microfibre cloth or use a blower to blow away the dust.
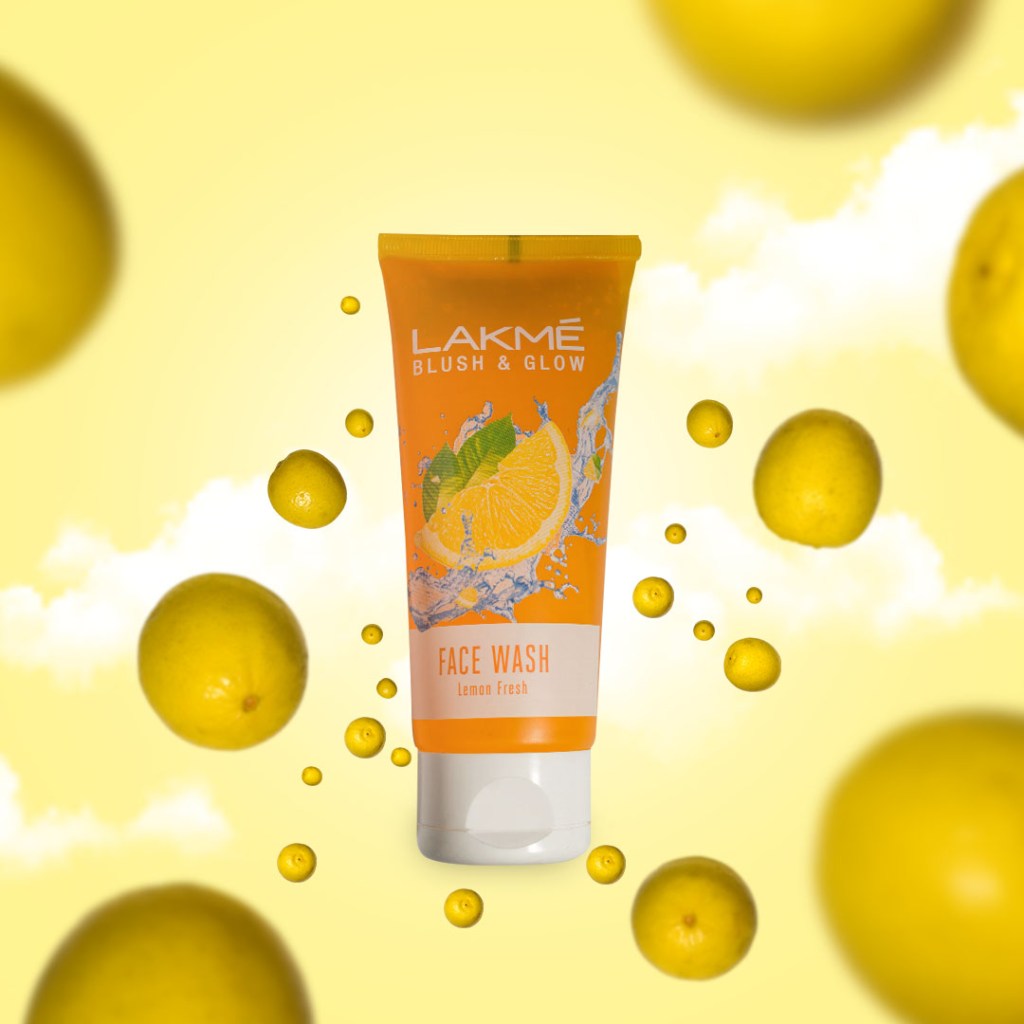
14. Pick the Perfect Background
Choose a background that’s consistent with your brand. If you’re creating lifestyle shots, you might use cardboard, wood panels, marble countertops, streamers, fabric, wallpaper, or other background ideas.
15. White Background
A plain white background works well for standard product photos. I simply take a long sheet of paper and tape it to my wall and table to create a seamless white background.

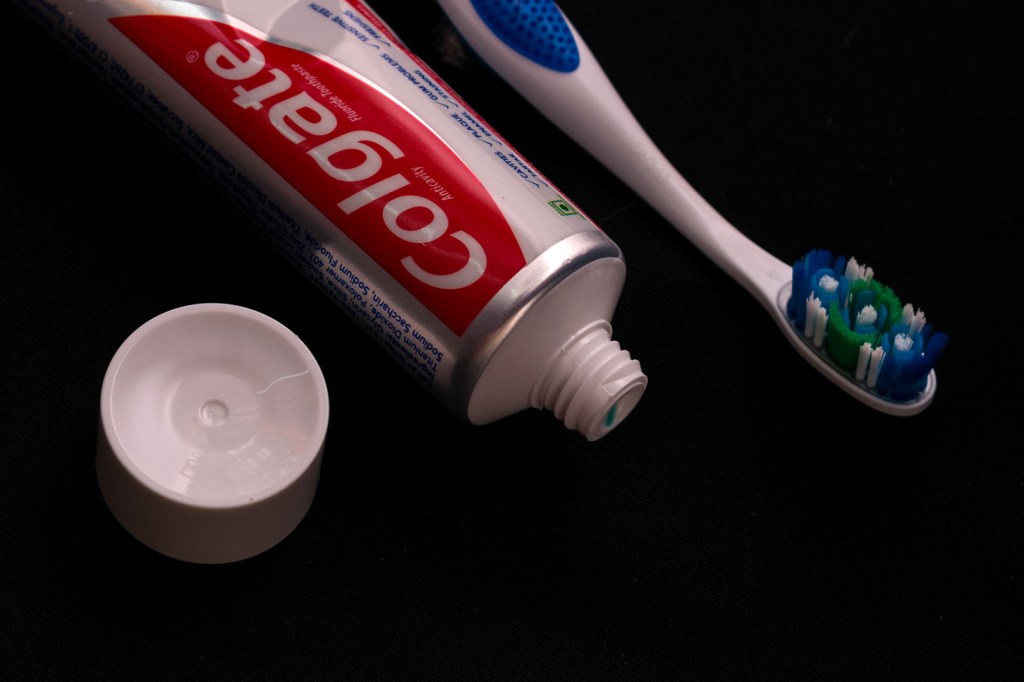
16. Horizon Background
A horizon is a line that runs through the background, usually where the wall and the surface connect. Horizon lines create depth but are tricky when shooting multiple photos as the line should match across all images.
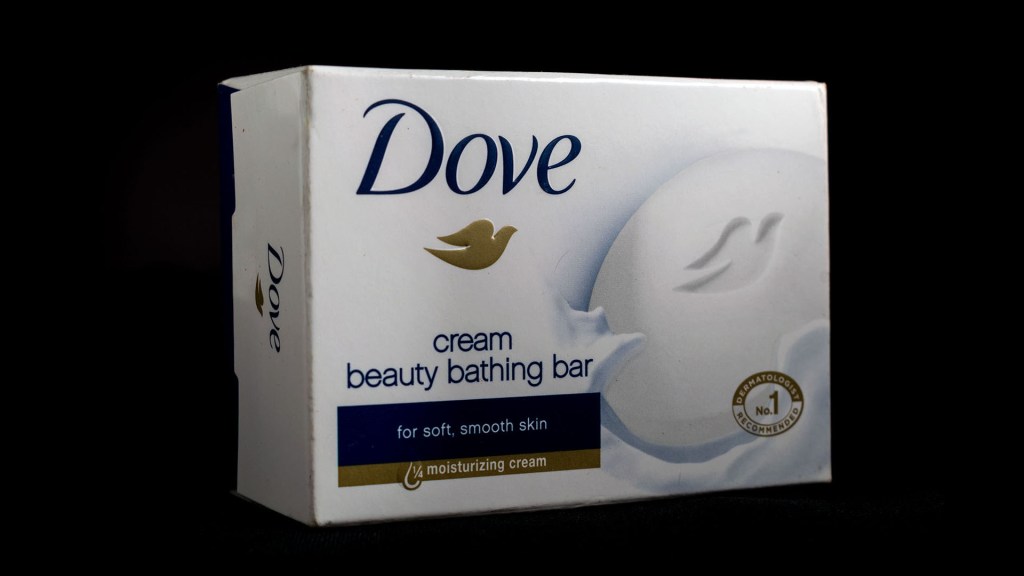
17. Light The Background
If you find the background is getting a bit dull, you can light it separately. It becomes easy to tweak the background in post-production if you do that.
18. Laptop Background
Fill your laptop screen with beautiful wallpaper and position it behind your product. Shoot a few frames, cleverly cropped, to make the background look more dynamic.
19. Don’t Clutter
Ensure you don’t have anything in the photo that isn’t relevant or doesn’t add any value. Try to keep the product the center of attention.
20. De-clutter Your Space
Your designated space might be a room or even just a table, but it should be free from interruptions. Make sure that it is clean and devoid of unwanted objects not required for the shoot.

21. Don’t Cut The Product
Don’t crop out any parts of your product, unless it’s an intentional macro shot. You can always crop in closer in editing if needed but don’t do it in-camera.
22. Use Simple Props
Keep the props simple, aligned with the colour scheme, and relevant to the scene or your product. Props can be welcome and help brighten the photograph for your viewers.
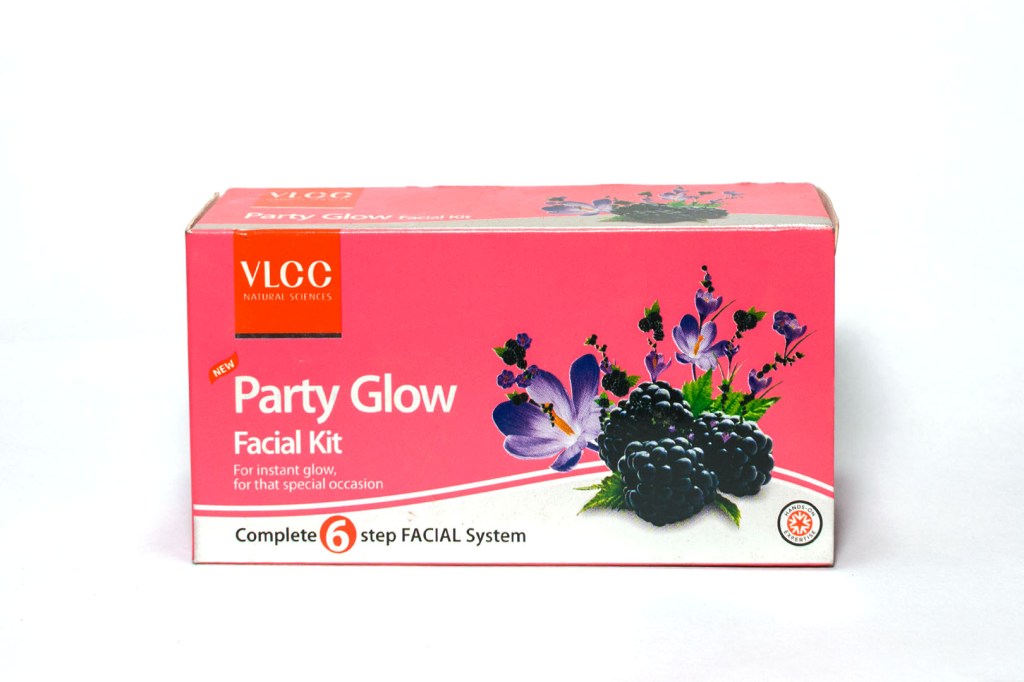
23. Show Ingredients
Showcasing a product with its ingredients is an important step towards being transparent with potential buyers and making a successful sale.
24. Check For Reflections
Pay attention to how your lighting or even you yourself reflects in the product. The best way to remove a reflection is to shift your position to no longer capture the reflection. You can also remove it during post-processing.
25. Use Shadows
If you are short on budget and don’t have many props around, use the light as your prop. Create interesting shadows with leaves, a door half-open, or a curtain.
26. Shoot to Edit
While you’ll always have the option to fix minor issues during post-processing, you should always aim to get your images right on camera. This will save you a lot of time and headaches.
27. Use Nature
Some products do well with nature as a background, especially if the colours match the tones of nature. Nature also evokes powerful emotions in people.
28. Use Home Settings
Some products, for example, household items, do excellent in a home environment. They sell the idea of comfort and make the viewer think about whether they will need certain products in their own home.
29. Tell A Story
As photographers, we are tasked with creating the story, the ambiance, and the world in which the product will be. As such, try to capture as much of a story in your shot as possible.
30. Add Personality
Ask your client what it is that makes their unique product better or simply different than a competitor’s. Use your photos to portray this aspect of the product for which the brand is known.
31. Show Product In Use
You can grab attention by showing your products being used in usual and unusual situations. You need to portray these “wants” in your product photos.
32. Explore The Possibilities
Think not only about the real-life purpose of the object but also about what your inner child would be able to create with it. After all, the best way to create and grow is by having fun.
33. Pay Attention to Colour
Imagine ordering a shirt only because of its color and getting a completely different color. Make sure the colors stay as they are.
34. Create A Scene
When photographing your product, it’s important to not only think about how your product looks but also about the entire area around it. Don’t sell the mattress, sell a good night’s sleep.
35. Take Multiple Shots
Taking multiple shots from a variety of angles will show your customers exactly what your product looks like. Plus, it will help give you options when it is time to edit.

36. Check Your Focus
Double-check to ensure that you have a pinpoint focus on the product. No matter how perfect your setup is, if the product is not sharp enough, it will be a waste.
37. Capture Details
If you sell jewellery or a product with fine details, using a macro lens, extension tubes, or macro snap-on filter can help you capture the little details. This way the customers can see what the product looks like.
38. Include Reflections
A reflection adds quite a bit of depth to an otherwise boring photo. Place the product in a shallow pan of water or use a mirror. Try using photo manipulation to reflect the image.
39. Add Texture
Consider adding texture to your product photography ideas by putting the products in sand, snow, grass, stones, wood, water, etc. A textured background is great for branding and expressing a mood.
40. Click Flat Lays
Here the product is laid on the table and the camera is placed right above it to get a birds-eye view of the product. Enhance your flat lays with thematic props for more visual interest.
41. Show Scale
When setting up your product picture, try placing your product next to another object like a pen. This will help the customers visualise how big the product is.
42. Use Unique Stands
Setting products on fancy stands is a great way to add appeal to a photo. You can use an old box, a hand, a book, a barrel, geometric shapes, or even a photo manipulated stand.
43. Organise Products
If you intend to photograph multiple products in a single frame, the most appealing way to is with carefully planned gaps between each item. Set everything in an organized manner.
44. Freeze Frame
Freeze-frame photographs are downright cool. You may find yourself with reams of blurry practice shots before you find the perfect one.
45. Suspended Products
Images of suspended products look impressive and whilst it will take some trial and error to get right, you can take a photo like this by using some clear thread.
46. Show People
When you feature people in your product photos, it speaks to your ideal customers. They can recognise themselves in the photo and imagine themselves using or wearing your product.
47. Observe Your Images
After your photoshoot, go back and look at what you did on your computer. Write down what you liked and what you didn’t. Learn from it and repeat the next time.
48. Edit Your Images
You’ll need to do some form of editing after you’ve shot your product photography. The post-production work is just as important as the process of taking an image.
49. Manipulate Your Images
It is not compulsory that all your images should be straight out of the camera. You can get super creative and tell your story with some interesting graphics too.
50. Have Fun
When you’re doing product photography, you should make the most of your time and have fun. You can follow the professional look for most of your photos but also try to click a few pictures in your own unique way.

I hope you find these 50 tips to be useful guys. Do comment on what you want to read more about on my blog. Thank you so much for reading. If you liked my blog, please give it a star and start following me. Thank you and happy clicking!
Also Read – 50 Tips for Landscape Photography
CONNECT WITH ME:
YouTube: https://www.youtube.com/user/agarwalsonika7
Instagram: https://www.instagram.com/agarwalsonika/
Twitter: https://www.twitter.com/agarwalsonika7/
Facebook: https://www.facebook.com/sonikatravels/
