

Today I’m gonna share with you 10 tips to help you in your low light photography. According to me, low light photography is not restricted to night photography only; it involves any space that is devoid of natural bright light. It can also cover a dimly lit room without much ambient light. So let’s come to our 10 tips for low light photography.
1. SETTINGS
Go for a small aperture – anything around f/3.5 or f/4 should be fine. If you have a fast lens and can go lower, please do try. ISO has to be increased but try to keep it around 500 to 640. The shutter speed can be very slow, which may give some camera shake in the images. So I prefer to use a tripod. If the scene is really dark and I don’t have my tripod, I may increase my ISO to 2000 or 4000. Sometimes a noisy picture is better than a blurry picture. You can try increasing the exposure compensation to bring in more brightness.

2. SHOOT IN RAW
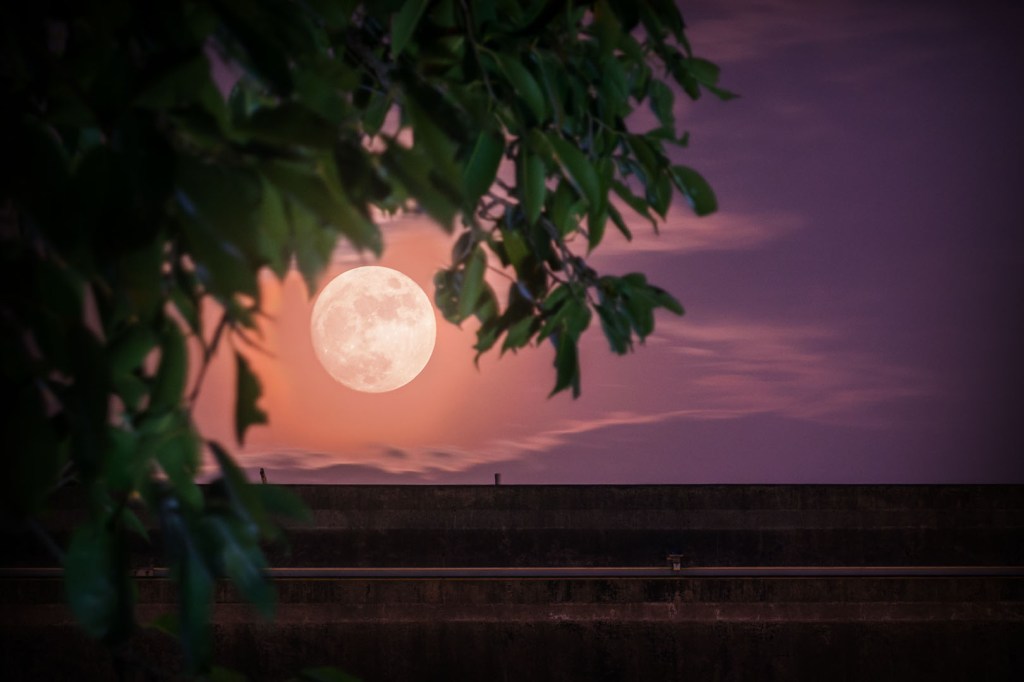
I shoot in RAW as it gives me more flexibility while editing my images. I’ll be able to recover some detail lost in shadow. In night photography, the highlights of the street lamps etc. may look too bright; I can tone them down if I have a RAW file.
3. DO THE PREP WORK
Try to do a bit of research about your shoot and plan things in advance. What kind of light will be there? When is the best time to take the photo? Is a tripod allowed at the venue? Asking the right questions can make your low light photography easier.
4. STABILISE YOURSELF
If you have a tripod great! If not, you can use the support of a table or any platform. If you are outdoors, you can use any bench, or pole, whatever you may find. Make sure there is a 3 point contact supporting the camera, 1st point the right hand holding the camera body, 2nd point the left hand cupping the lens, and 3rd point can be your stomach, your head, your elbows locked against your stomach, whatever!
5. FOLLOW THE LIGHT
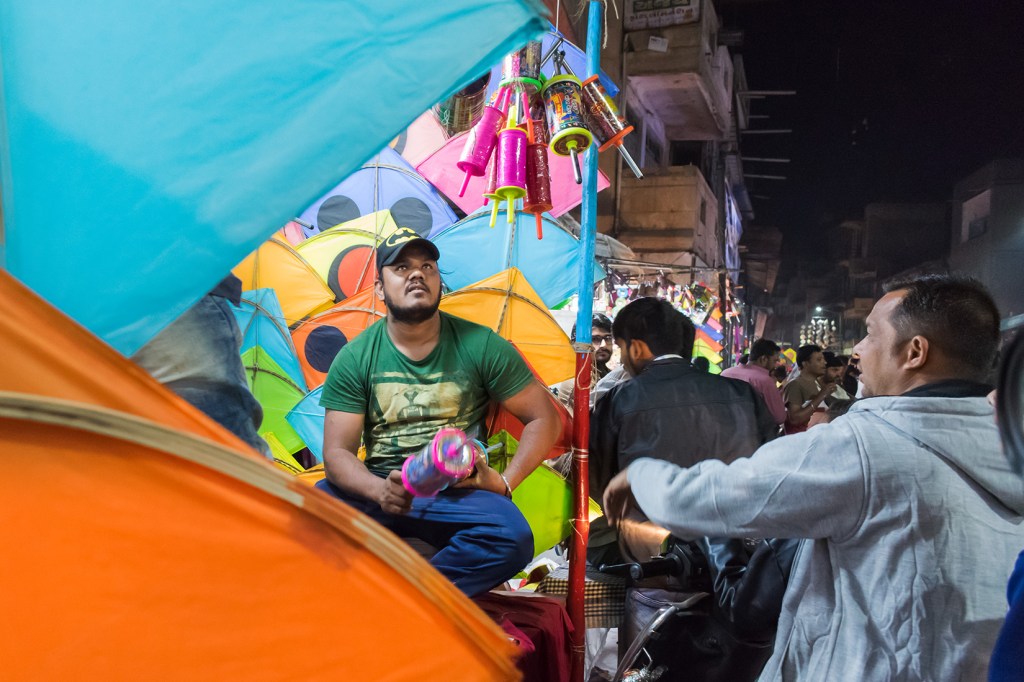
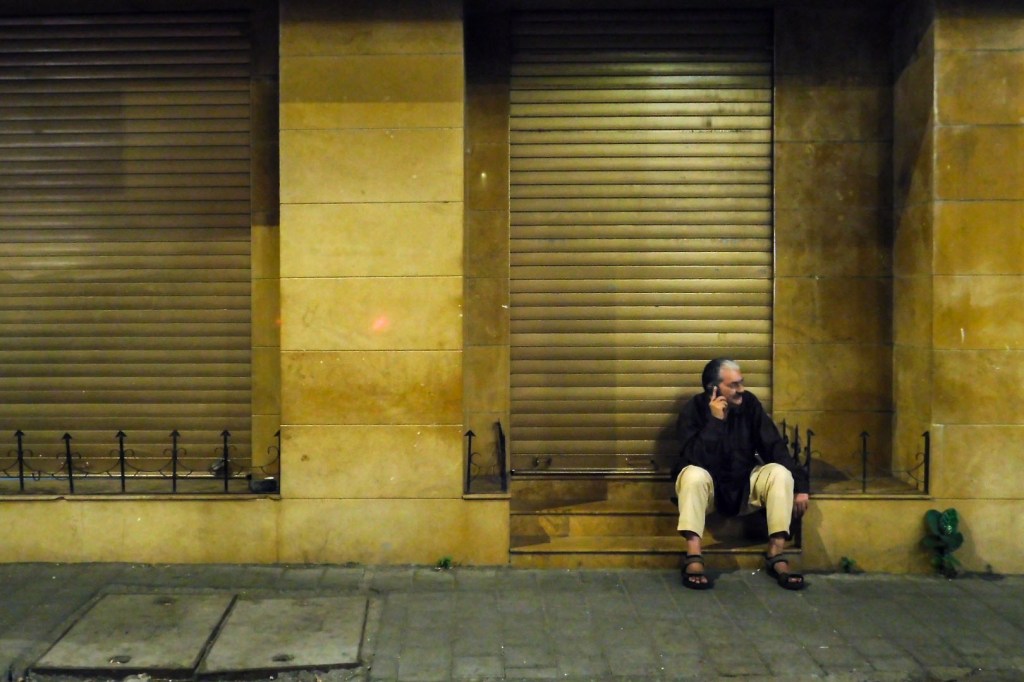
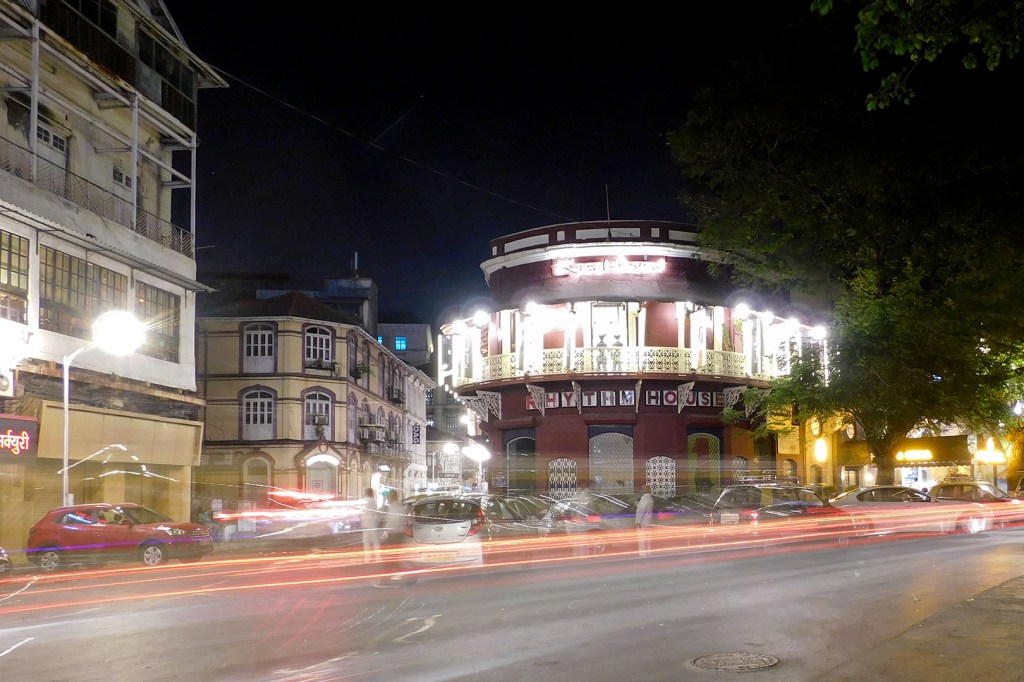
The closer you are to the light the more it will fill your frame. This will result in more light falling on your sensor so you can ease up on the high ISO and wide aperture. When outdoors, look out for lights from buildings, street lamps, neon signs, and try to capture your shots using that light. When you are indoors, use the lights sources in the room to the best effect.

6. USE OTHER LIGHT SOURCES
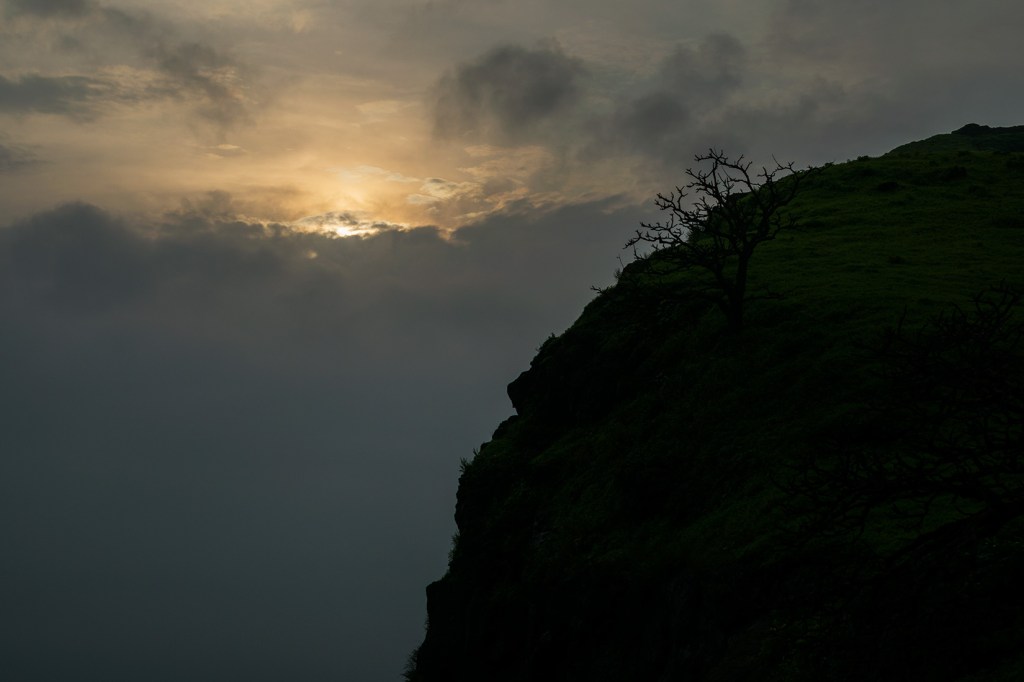
You may use an additional light source like a flash, reflectors, etc. If you don’t have any lights, you can even try a torch or your mobile flashlight. Do not, however, position the light behind your subject if it’s the only source of light unless your goal is to create a silhouette.

7. FOCUS PROPERLY
Another reason for blurry images in low light is the fact that some cameras just aren’t manufactured to focus properly with less light. Try shining a light on your subject to give your camera enough light to focus. You also may use you manual focus ring to fine-tune your focus. Make sure to zoom in and check for sharpness of the image on the rear LCD of the camera.
8. TRY A LONG EXPOSURE
The blur of moving cars, people in a crowd, clouds in the sky, can create very effective images and what you need to capture them is a slow shutter speed. Set your camera up on a tripod and use a long shutter speed — try starting at 5 secs or 10 secs. You can decrease your ISO to 100 for them too.
9. SHOOT IN B&W
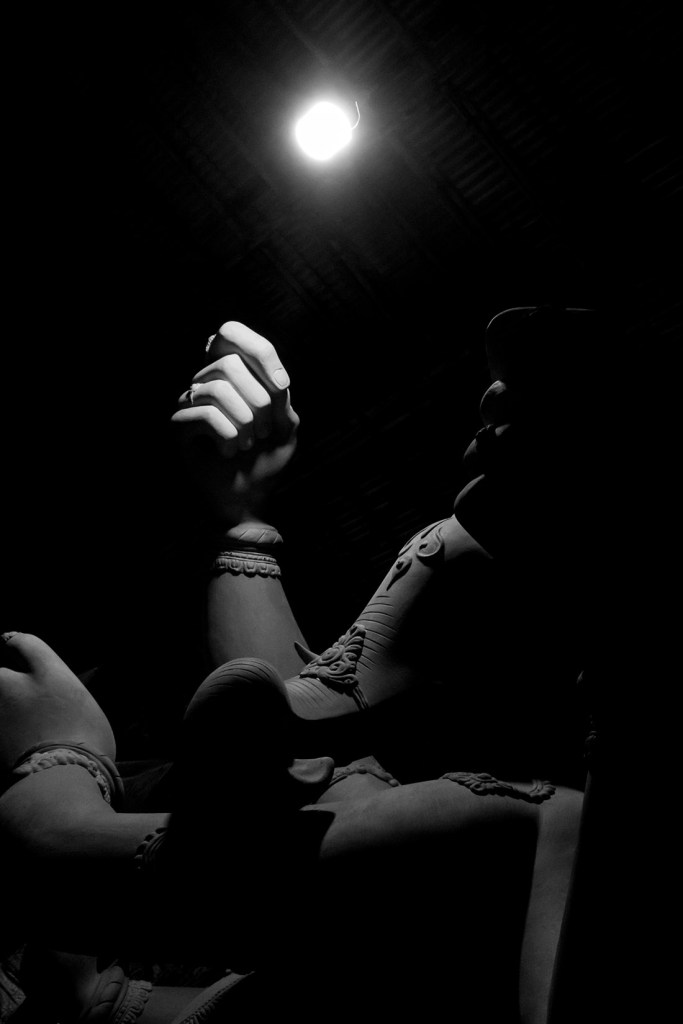
If you want to get great low light images without a flash but you really don’t feel like messing around with your camera’s white balance, you can capture your photos in black and white. It will help you do away with poor colour issues all together.
10. EXPERIMENT & PRACTICE
Like anything, to become great at something, you need to experiment and practice. If something doesn’t work for you, try again with different camera settings. With a lot of practice and experimenting, you should become fairly comfortable shooting low light photos and will have crisp, clear shots—without the use of a flash—in no time.

So guys I hope these tips help you in your low light photography. Next time if it’s dark, don’t switch off your camera. Keep clicking! 🙂
Also Read – Creative Ways to Photograph the Moon
CONNECT WITH ME:
YouTube: https://www.youtube.com/user/agarwalsonika7
Instagram: https://www.instagram.com/agarwalsonika/
Twitter: https://www.twitter.com/agarwalsonika7/
Facebook: https://www.facebook.com/sonikatravels/
