

Today I’m gonna make my 1st food photography tutorial for you all. It’s a genre I’ve been avoiding all this while because I don’t like to cook, at all. But I dunno why I’m doing this but yeah let’s start with some food photography.
10 Food Photography Tips for Beginners
1. The Food Itself
Luckily for me my Mom is a very good cook. So she can provide me with her tasty dishes. The food has to look good. Meaning the rotis or puris have to be nice and round. Food should not be burnt or crumpled. It should look sleek, so you need to take care of that while preparation. If you are not a good cook like me, you can use vegetables, fruits, or biscuits, whatever you may have in your kitchen.
2. Utensils
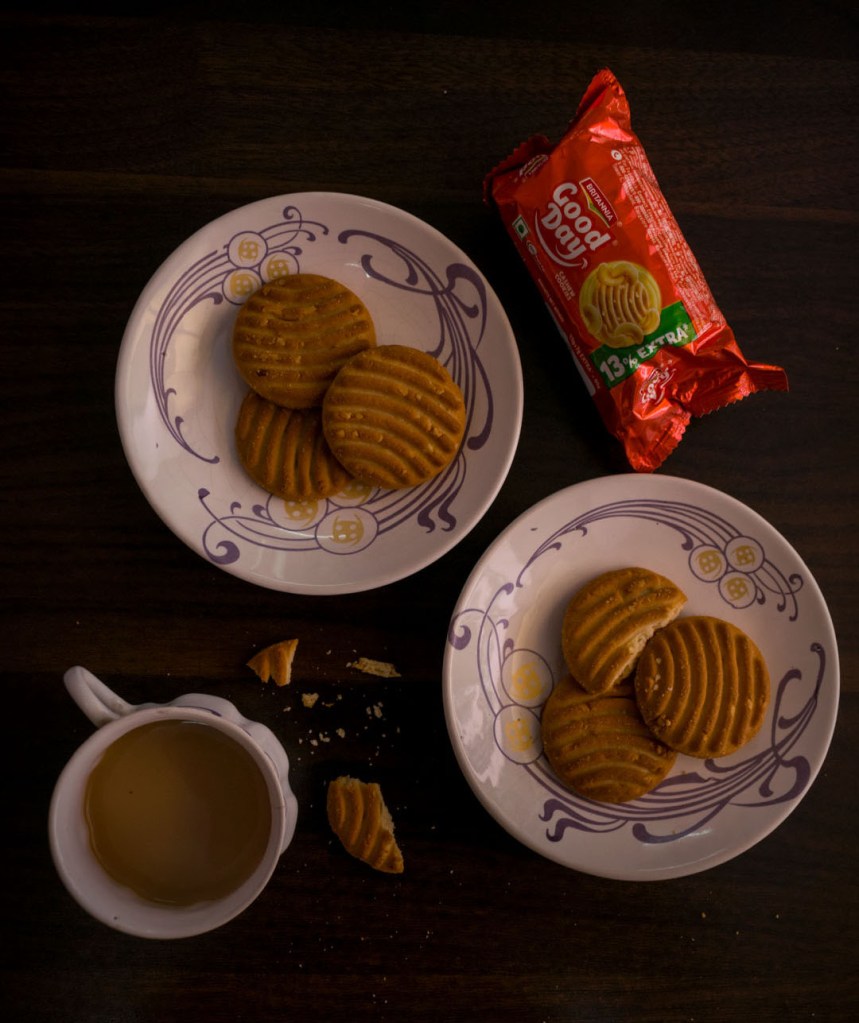
Next the utensils. You can’t just use a plastic bottle, white plate and steel glass. The utensils should be complementing each other. They should also bring out the colours in the food properly. Best is to go for plain white or black colour utensils. Avoid using fancy or flowery designs as they may steal the attention from the food, which should be the main subject.

3. Background
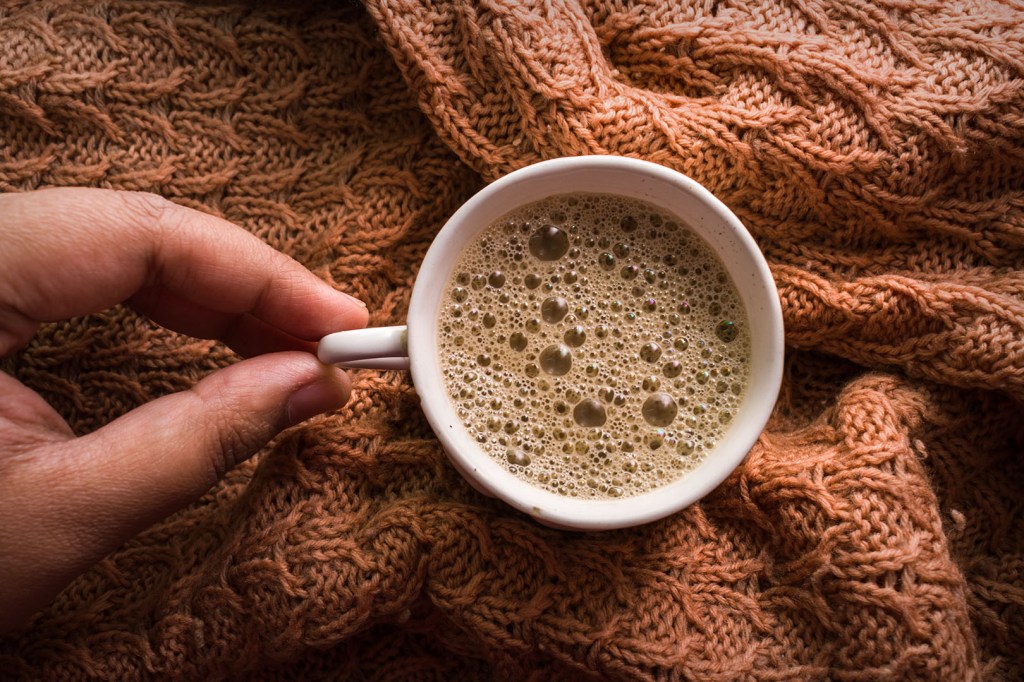
Again your background should complement the colours of the food and utensils you use. You can go for plain colors or textures like wood or cloth. Anything can work, just make sure the background is not too gaudy and bright.

4. Composition
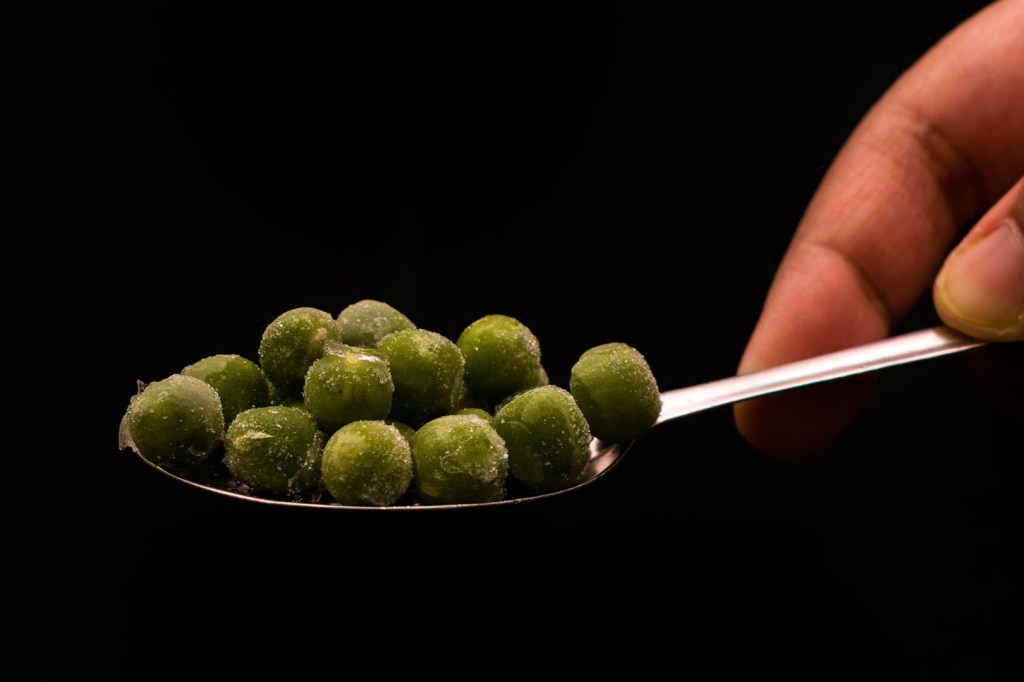
Now that we have our food, utensils, and background in place, it’s time to compose your shot. Bear in mind the basic rules of composition like rule of thirds, filling your frame, golden triangles, etc while you do that. To make my photo more appealing, I might add the ingredients used to make the dish in a structured manner. If there are any spillages, clean them up before you take the photo.
5. Lighting
Once I have composed my shot, I need to think about the lighting. I may use natural light coming in from my window. Or use a light source. If you have a soft box or flash you may use it. Or else simple lamps will also do. Try to get nice soft light on your food. You can also make reflectors at home using some white paper or aluminum foil.
6. Gear
Most photographers use a prime lens or macro lens for food shots. I don’t have one. I have my 18-55mm kit lens and I’m gonna use that on my Nikon D5300. According to me you can use any gear guys. If you have a prime lens, use it; but if you don’t, you can work with what you have.

7. Settings
It’s best to place your camera on a tripod. This allows you to set a low ISO and not let the low shutter speed bother you. Aperture depends on your composition; if you have too many elements in your shot and you want them all in focus, go for a high f number like f 8. Or else if you want depth and want to blur out the background, go for a low f number like f 4 or f 5. White balance can be auto. Matrix or center weighted average metering works for me. I’m gonna shoot in Raw + Jpg.

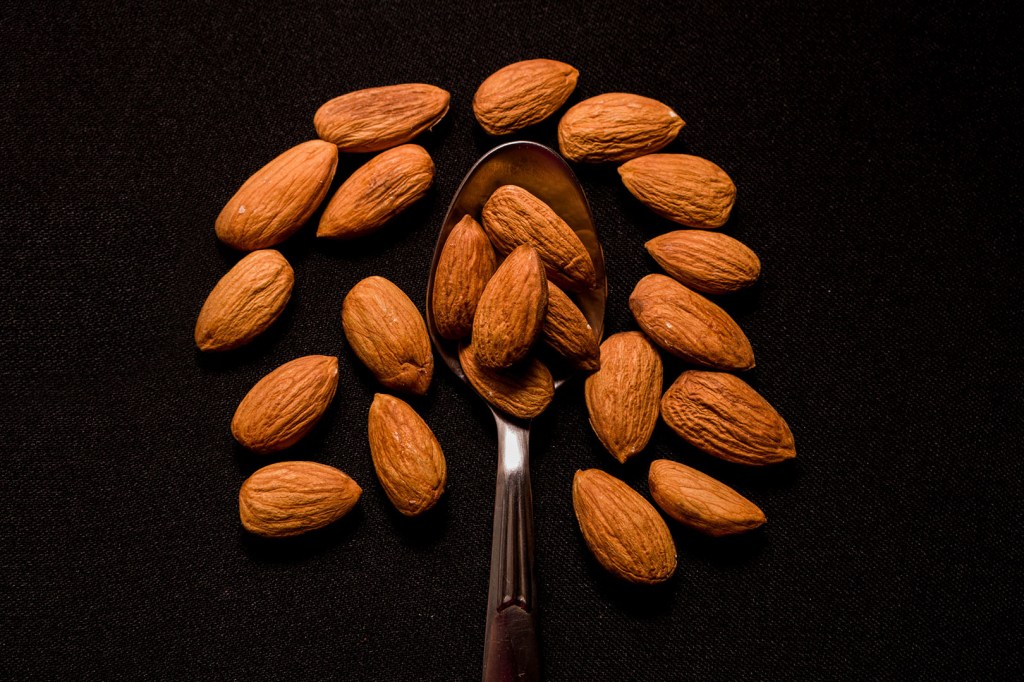
8. Angles
I’ve clicked an image from top angle. But I’m not done yet. I’m gonna change my camera angle and see how my composition changes. I might move the elements and background as needed to balance my composition.
9. Experiment
Practice and experiment with different dishes and backgrounds. It may take time to perfect this art but you’ll get there.

10. Editing
You can further edit your photo in any post processing software. You may adjust the crop, give your photo a soft, neutral feel, or stamp out any spillage you may have missed out.

So guys I hope my tips for food photography give you some ideas and many great photographs!
Also Read – 10 Tips for Portrait Photography
CONNECT WITH ME:
YouTube: https://www.youtube.com/user/agarwalsonika7
Instagram: https://www.instagram.com/agarwalsonika/
Twitter: https://www.twitter.com/agarwalsonika7/
Facebook: https://www.facebook.com/sonikatravels/

3 thoughts on “10 Food Photography Tips for Beginners (Trying Food Photography for the 1st time)”