

In today’s photography tutorial, I will share with you some tips for product photography. I have recently started clicking products and I have a long way to go. But let me share with you all 10 tips that can help you guys in starting with product photography. So without further ado, let’s come to my 10 tips for product photography.
1. Gear & Settings
I like to use my Nikon D5300 with my 18-55mm kit lens for most of my product shots. But you can use the camera you have. You can also try using your point and shoot or smartphone camera. Assuming you have a DSLR, it’s good if you keep a high f-number as it will help you in bringing the entire product into focus. Around f 11 should be fine. For smaller products, you can go lower, and for bigger products, you may go for f 16 also, it depends. Make sure no part of the product is out of focus. ISO should be less coz we don’t want the noise to affect the image quality. So I will keep it the least 100. Shutterspeed can be the value I get by default to balance the exposure.
2. Tripod
Since I have to use high f-number and low ISO, my shutterspeed can be low, which is bound to give me blurry images. So it’s best to use a tripod. Also, this will bring consistency to your shots, if you have to shoot more than 1 product and they all have to be on the same background and angle, then having a tripod can ensure you shoot all your products from the same level.
3. Lighting
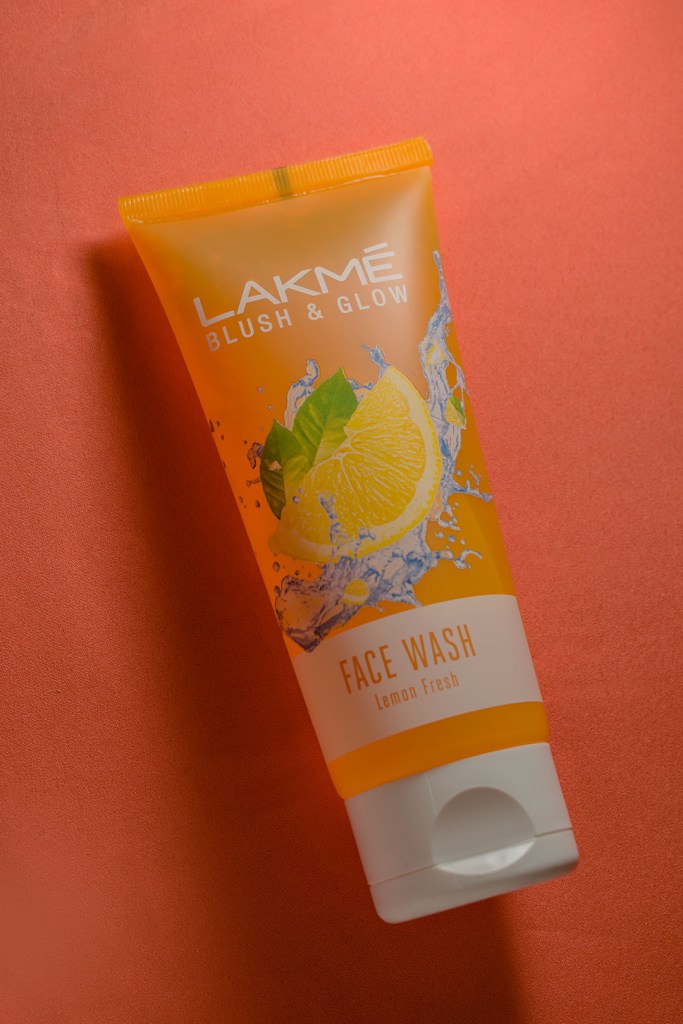
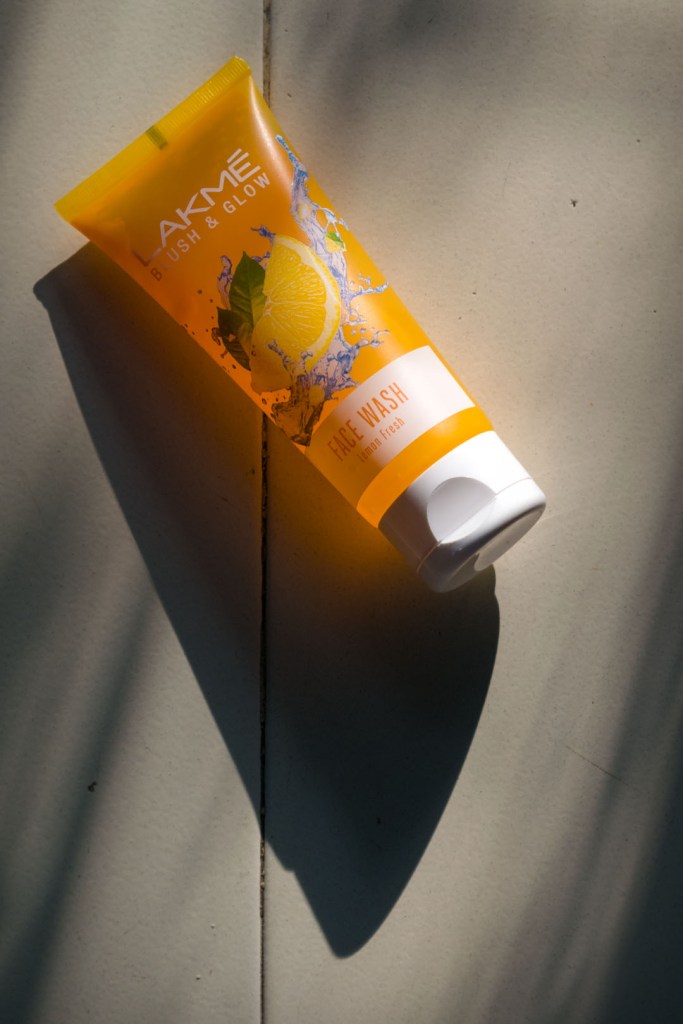
There are two options for product photography lighting: studio lighting and natural lighting. If you’re photographing inside, you will want to set up your product facing a window so that you are gaining all the natural light that comes through. If your product is primarily used indoors (e.g., cookware), features small details (e.g., artwork), or is being sold on Amazon and Google Shopping, then artificial product photography lighting is preferable. Having one speedlight and a reflector (you can make one at home using some white paper or sun boards) is enough to light up your subject. If you don’t have a speedlight, you can use any lamp you may have at home, make sure you use white LED bulbs and not yellow or orange ones.

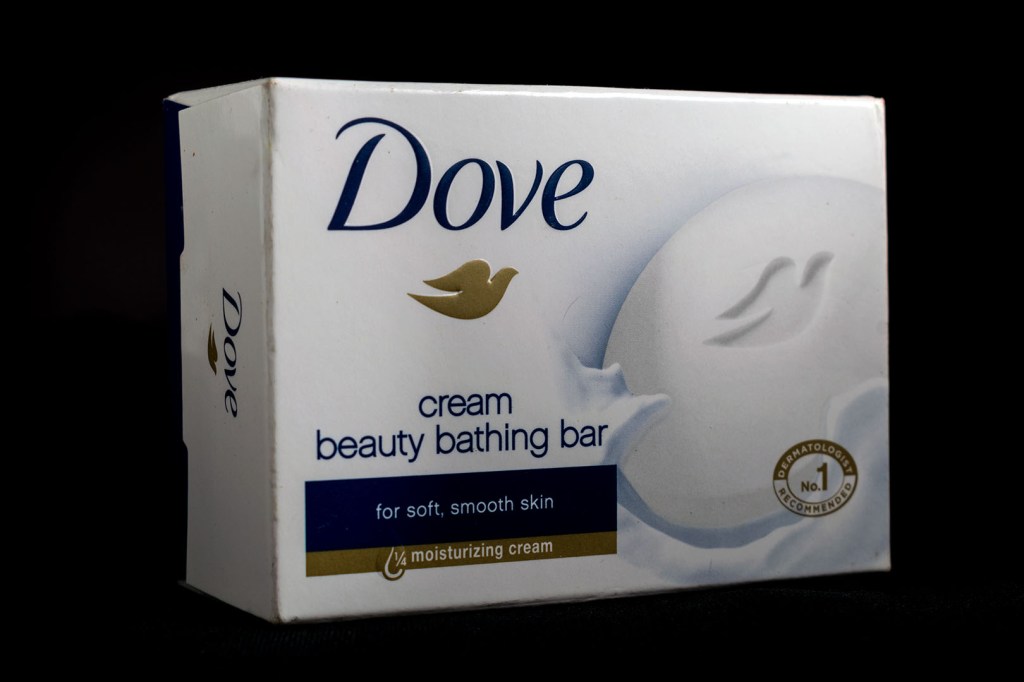
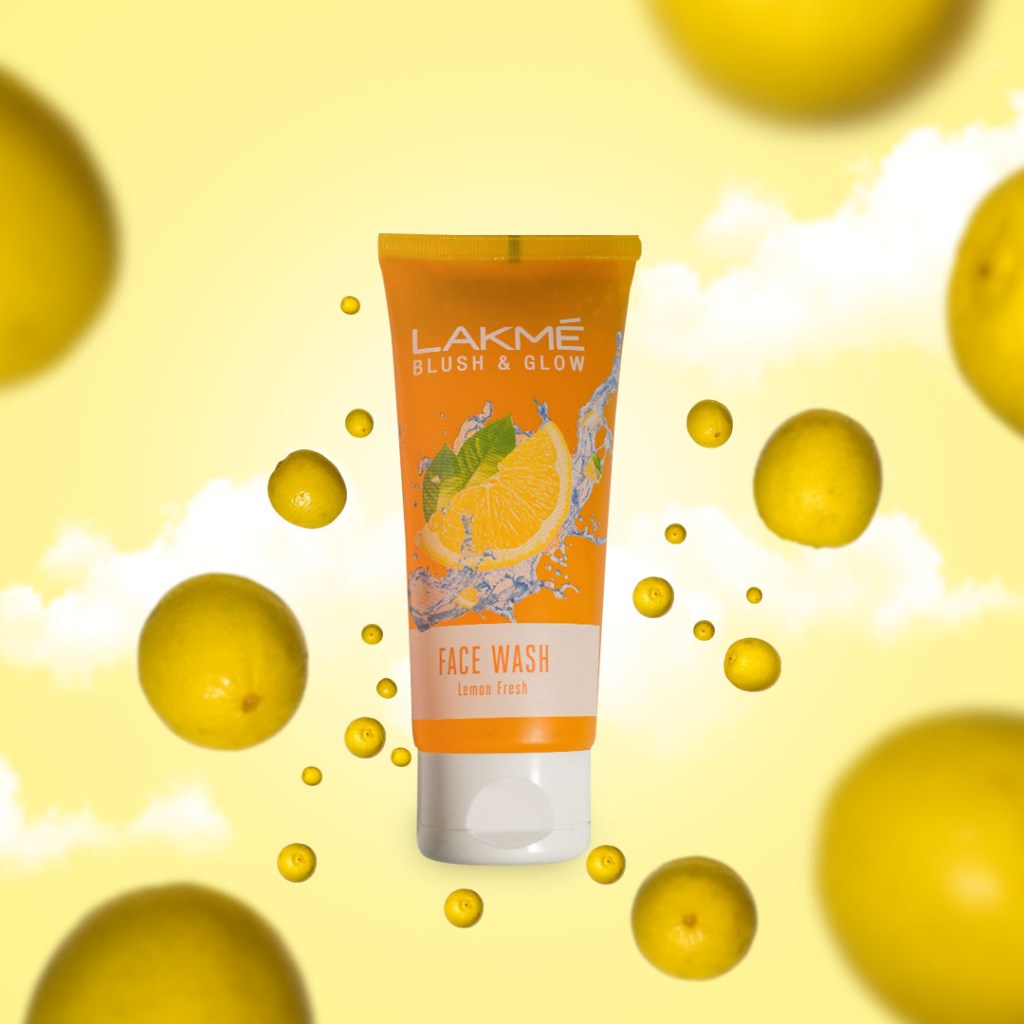
4. Background
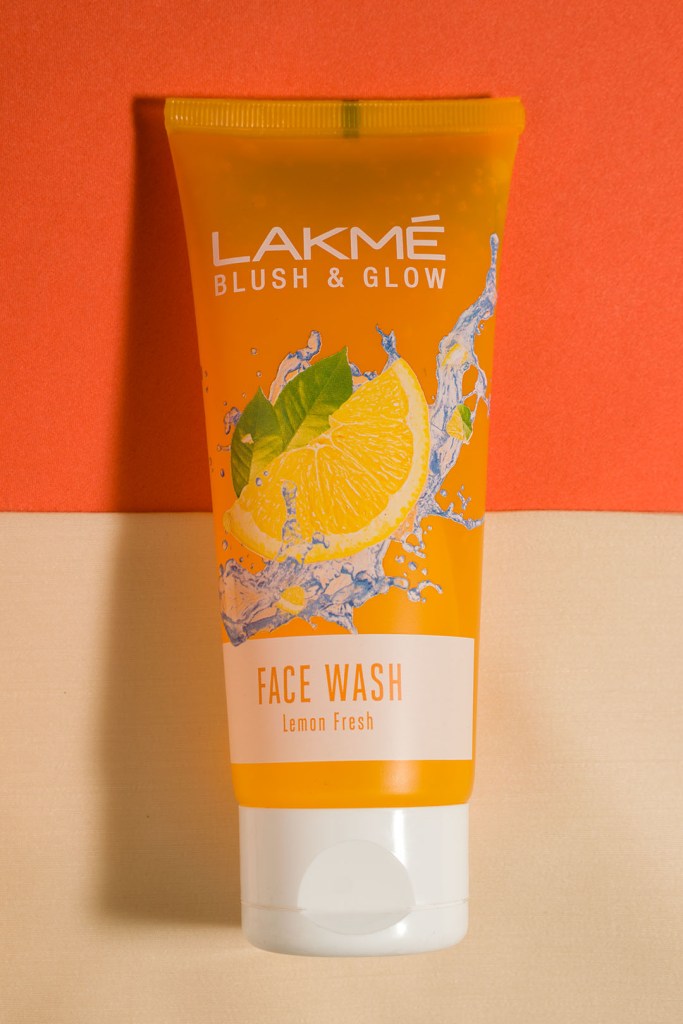
A plain white background does a fantastic job of showing your product off for what it is. If you’re struggling to find the perfect white background, you can easily build yourself a makeshift set using some white paper or cloth. In the same way, we can have colour backgrounds by using any old t-shirts, dupattas, paper, whatever we may have at home.
5. Composition
Study the various basic rules of composition in photography. The rule of thirds works best for beginners. In the rule of thirds, we divide our frame in a 3×3 grid and place our main subject along the lines or at the intersecting points of these lines. This is simply a guideline to help you place your objects or point of interest in a way that is naturally appealing.
6. Inspiration
You likely already have some brands in mind that you love. Take a look at their product photography and ask yourself how a similar shot or technique could work for your products. You can find innumerable references on Google, Instagram, Behance, there are so many websites.
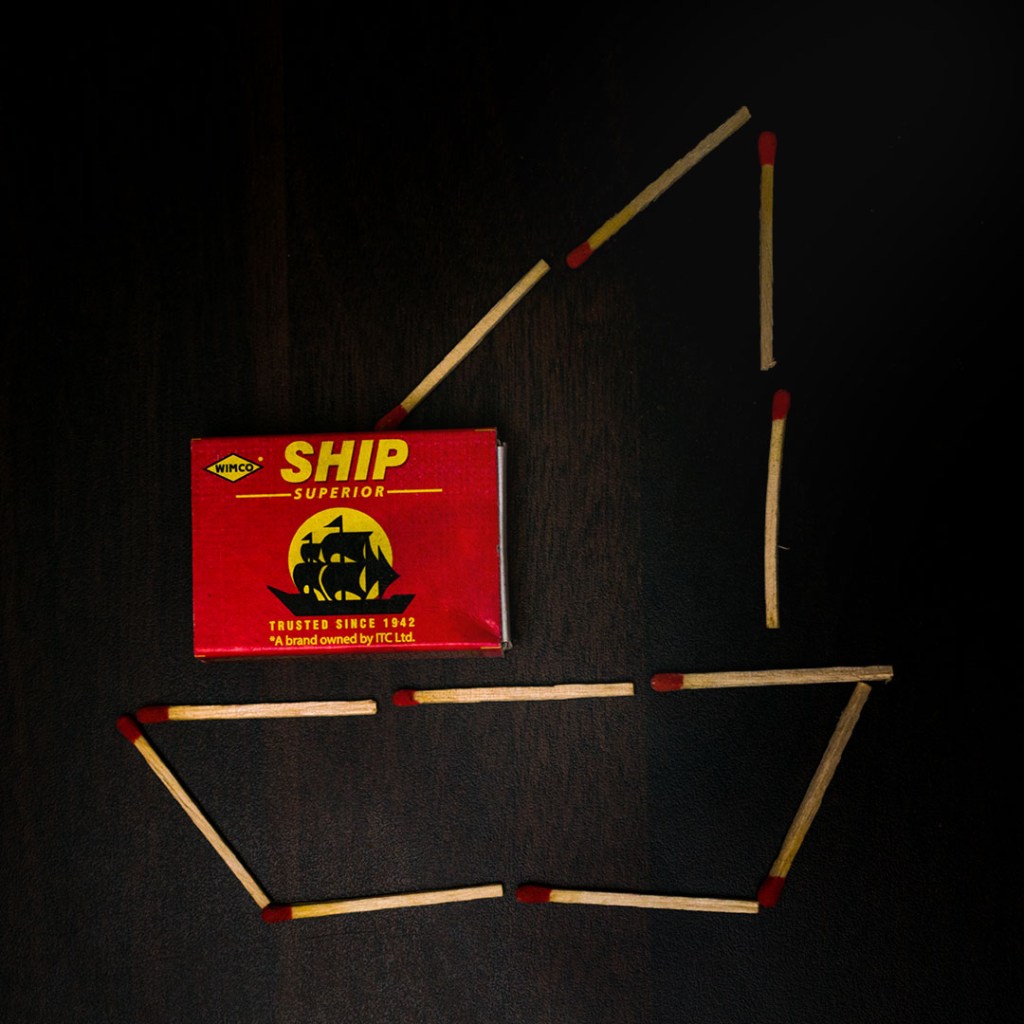
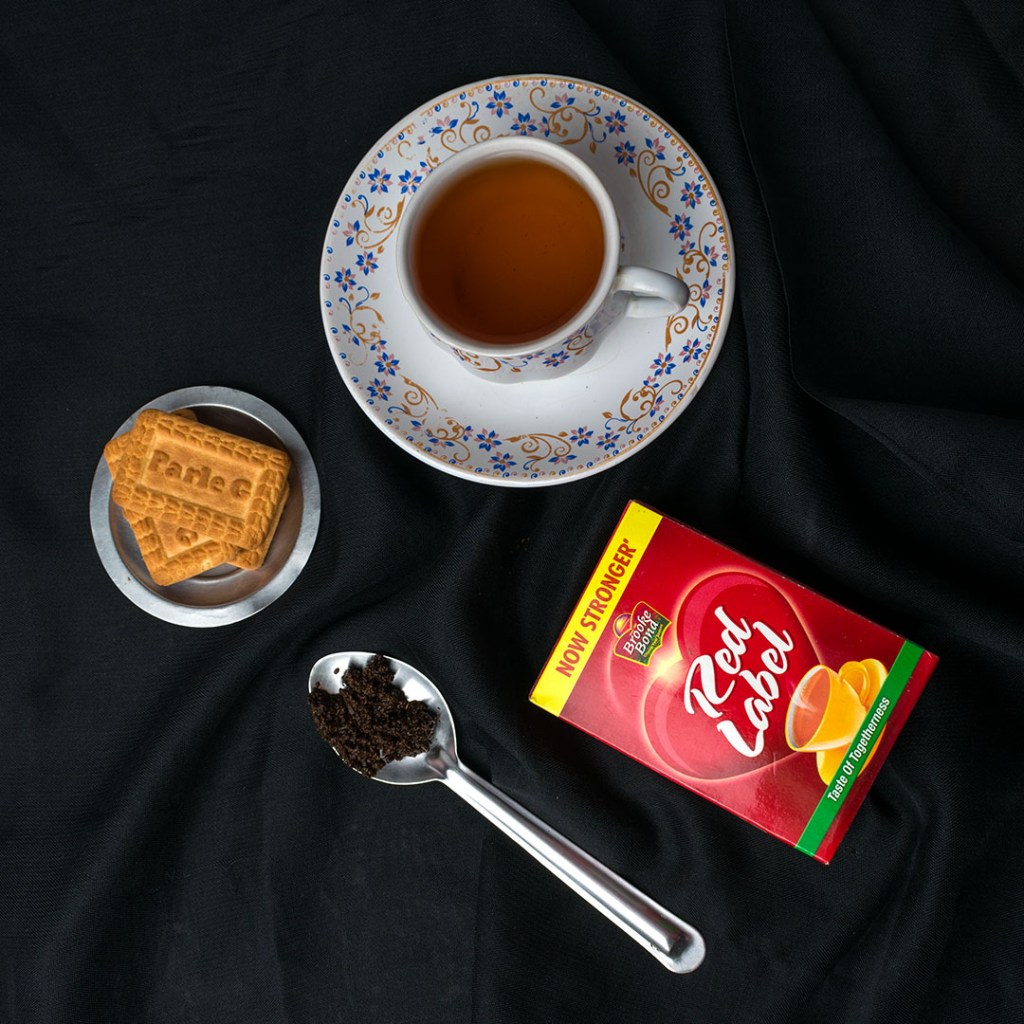
7. Props
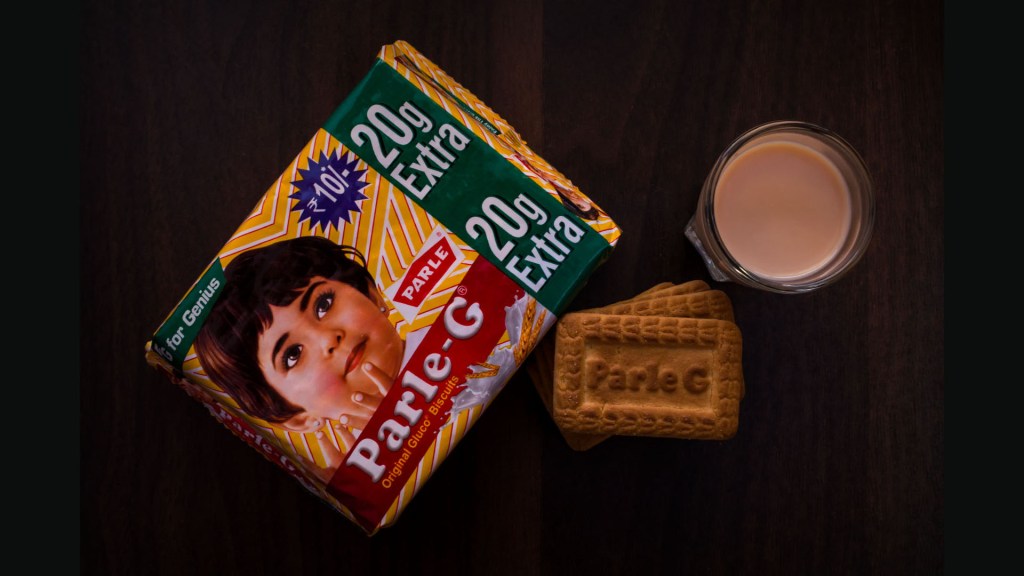
While using props make sure that they are simple and don’t take the attention away from the main product. The props should help you balance your composition or show how the product can be used or its ingredients. Even without the props, the photograph can stand on its own but we want to give it that extra something to make it stand out.
8. Multiple Photos
Do not stop at one photo per product. Taking multiple shots from a variety of angles will show your customers exactly what your product looks like. Plus, it will help give you options when it is time to edit and you don’t have to redo the whole shoot if something goes wrong.
9. Brand Personality
Humanize products in your photography. Or create a story that surrounds it. Give it character. Ask your client what it is that makes their unique product better or simply different than a competitor’s. Use your photos to portray this aspect of the product for which the brand is known.
10. Editing
Taking a photo is just the beginning. Touch-ups and editing are just as important as taking the photo itself. Take a look at the colours in the image in comparison to the real product. If they appear a bit different, no need to worry, sometimes a few tweaks can get the job done.
If you liked my article, please give me a like and leave a comment. Also follow me on social media for regular photography tips and tricks. Links down below…
Also Read – Lazy Food Photography
CONNECT WITH ME:
YouTube: https://www.youtube.com/user/agarwalsonika7
Instagram: https://www.instagram.com/agarwalsonika/
Twitter: https://www.twitter.com/agarwalsonika7/
Facebook: https://www.facebook.com/sonikatravels/

3 thoughts on “10 Tips For Product Photography (A Beginner’s Guide to Product Photography)”